


Installing deck railing yourself can be a deeply rewarding endeavor. You can unveil majestic views, ensure safety, and enhance your home’s curb appeal. Whether you're a novice DIY enthusiast or an experienced builder, this comprehensive guide will walk you through everything you need to know for a successful deck railing installation. Grab your toolbox, and let's get started!
Understanding the Importance of Deck Railing
Before diving into the nuts and bolts, it's crucial to understand why deck railing installation matters. Besides aesthetic enhancement, deck railings play an essential role in ensuring safety. They prevent accidental falls and provide support while navigating your deck.
Further, deck railings can accent your outdoor space's design. Contemporary, rustic, industrial—whatever your style, there's a railing to match. Well-chosen materials and a good design can significantly boost your property's value, making it a worthwhile investment.
Choosing the Right Materials
Wood Railings
Wooden railings offer a timeless appeal. They can be stained or painted to match any deck, and their natural aesthetic complements outdoor settings beautifully. Popular options include cedar, redwood, and pressure-treated lumber.
Metal Railings
For modern or minimalist styles, metal railings are fantastic choices. Options range from stainless steel to wrought iron and aluminum. Each brings a sleek, elegant touch to your deck and is known for its durability and low maintenance.
Composite Railings
Composite railings are a blend of wood fibers and plastics. These are gaining popularity due to their durability and environmental benefits. They mimic the look of wood while requiring less upkeep and offer excellent resistance to rot and weathering.
Planning Your Deck Railing Project
Measure Your Space
Before purchasing materials, measure the perimeter of your deck where railings will be installed. Ensure compliance with local building codes, which usually dictate railing height and spacing between balusters. Standard railing height is typically between 36 and 42 inches, depending on your location and specific regulations.
Design Considerations
- Style: Choose a style that complements your existing deck and home architecture.
- Color: Consider a color that either blends seamlessly with the deck or contrasts for effect.
- Functionality: Will your railing accommodate accent lighting, planters, or a built-in seating area?
Budget Wisely
Outline your budget based on material costs, tools required, and additional features like post caps or lighting. Always allow a buffer for unexpected expenses.
Essential Tools and Equipment
Gathering the right tools before starting will streamline the installation process:
- Measuring tape
- Circular or miter saw
- Drill and drill bits
- Level
- Screwdrivers
- Hammer
- Safety gear (gloves, goggles)
These basic tools are often sufficient for tackling DIY deck railing installations.
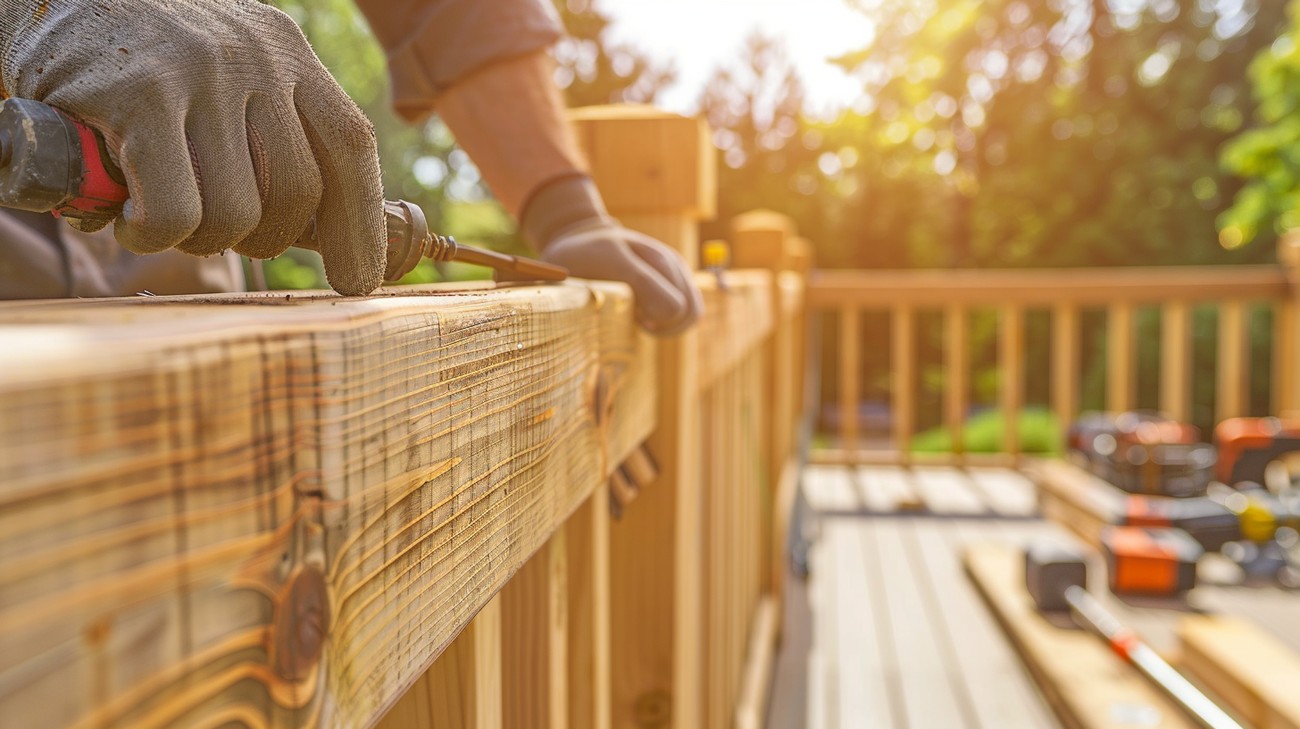
Step-by-Step Railing Installation Process
Step 1: Install the Posts
Start by securing your posts at the corners and midpoints of the deck. Posts are typically spaced no more than 6 feet apart. Use a level to ensure they're plumb (vertically straight), fastening them securely to the deck structure with bolts or screws.
Step 2: Attach Rails
Once posts are in place, it's time to connect them with horizontal rails. These will be the top and bottom framework where the balusters attach. Cut the railing to fit between the posts and use brackets or screws for sturdy attachment.
Step 3: Add Balusters
Balusters are the vertical components that provide structural integrity and safety. Space them according to building codes—usually not more than 4 inches apart. Securely fasten each to the top and bottom rails.
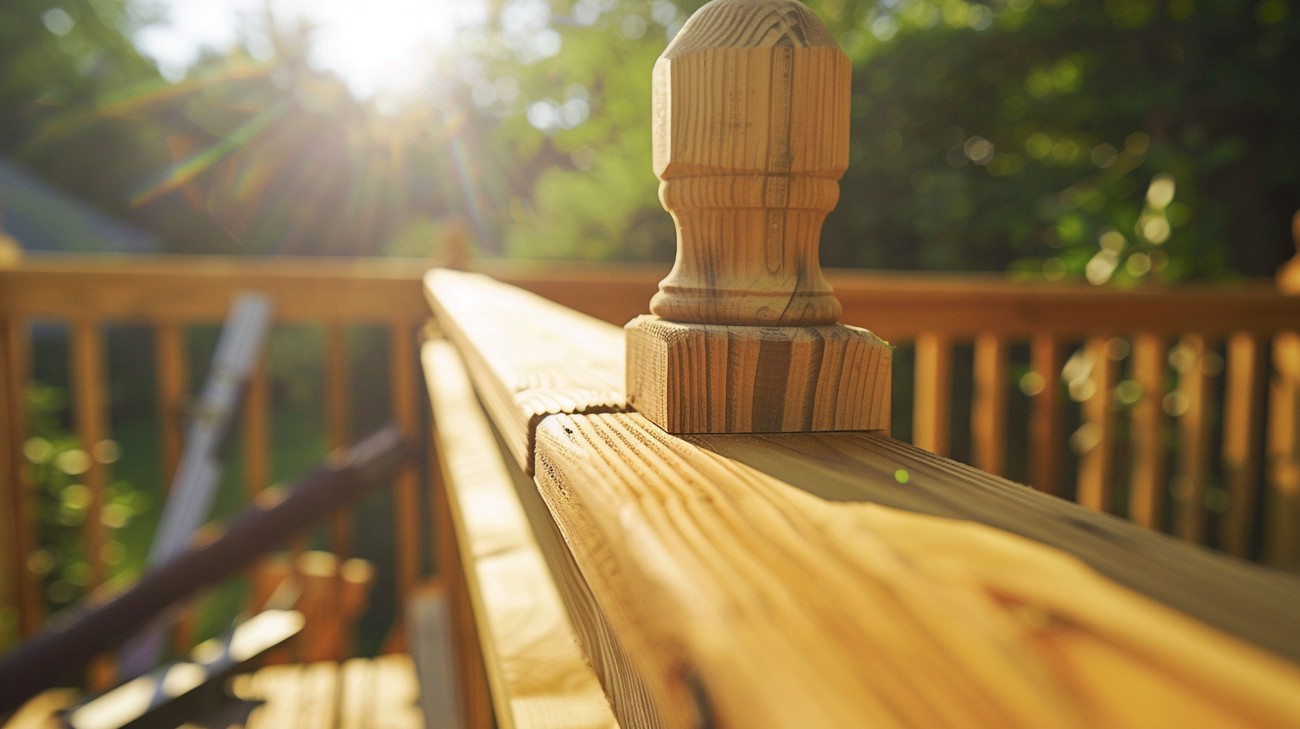
Step 4: Install the Top Rail
The top rail caps the balusters and provides an enforced ledge for an added layer of safety and aesthetic appeal. Consider routing the edges for a polished finish before firmly securing them to the post tops.
Step 5: Finishing Touches
Apply a sealant or stain to protect the wood and enhance its natural beauty, especially if you're using wooden railings. For metal or composite railing, a simple cleaning is often sufficient. Add post caps or outdoor lighting for both function and flair.
Safety Tips and Best Practices
- Always wear appropriate safety gear—protective eyewear and gloves are essential.
- Double-check measurements and alignment frequently to ensure accuracy.
- Secure and test any parts thoroughly before allowing use.
Common Mistakes to Avoid
Avoid common pitfalls by approaching the installation with foresight:
- Inaccurate Measurements: This can cause misalignment and wasted materials.
- Ignoring Codes: Failing to comply with local regulations can lead to safety hazards and potential legal issues.
- Rushing the Job: Quality takes time. Rushing increases the risk of errors and injuries.
Regular Maintenance Tips
Proper maintenance prolongs the life of your deck railing, ensuring safety and beauty. Here are a few key tasks:
- Wood Railings: Regularly check for rot or insect damage. Reapply sealant or paint as needed.
- Metal Railings: Inspect for rust and ensure fixings are secure. Clean with a mild detergent.
- Composite Railings: Wash with soap and water to remove dirt and debris.

Deck Railing Installation FAQ
What are the essential tools needed for deck railing installation?
For a successful deck railing installation, you'll need a variety of tools. Start with a tape measure for precise measurements and a level to ensure everything is aligned correctly. A power drill with appropriate bits is essential for securing screws and bolts. You'll also need a saw, like a miter saw or circular saw, to cut railing components to the desired length. Don’t forget a screwdriver, hammer, and possibly a post-hole digger if you’re installing posts into the ground. Having safety gear like gloves and goggles is also crucial for protection during the installation process.
How do I choose the best material for my deck railing?
Choosing the right material for your deck railing depends on several factors, including budget, maintenance preferences, and aesthetic desires. Popular options include wood, composite, metal, and glass. Wood is a traditional choice offering a rustic look but requires regular maintenance to prevent weather damage. Composite railings offer a wood-like appearance with less maintenance. Metal options, such as aluminum or wrought iron, provide durability and a modern feel. Glass panels can enhance views but may require frequent cleaning. Consider your climate, style preferences, and how much upkeep you’re willing to commit to when selecting a material.
Are there specific regulations I need to follow for deck railing installation?
Yes, most areas have building codes and regulations that dictate specific requirements for deck railing installation. These regulations typically cover height requirements, spacing between balusters, and structural integrity standards to ensure safety. It's crucial to check with your local building authority before beginning your project to ensure compliance with these regulations. Adhering to local rules not only ensures safety but also prevents potential fines or required modifications after the installation is complete.
Can I install deck railing myself, or should I hire a professional?
Installing deck railing can be a DIY project if you have the necessary tools and skills. Basic knowledge of carpentry and the ability to follow detailed instructions are crucial. However, if you encounter challenges such as complex designs, uneven surfaces, or specific local building codes, hiring a professional might be the best choice. Professionals bring expertise and efficiency, often completing the installation more quickly and ensuring adherence to safety standards. Weigh your time availability, budget, and experience level when deciding.
What are the common steps involved in installing deck railings?
The deck railing installation process involves several key steps. First, determine your layout and measure accurately. Next, install the posts, which require leveling and securing strongly to the deck. Once the posts are in place, attach top and bottom rails, ensuring they're perfectly parallel and level. Finally, install the balusters or panels between the rails, adhering to spacing requirements. Finish by checking the stability of the entire structure. Each of these steps requires precision to ensure a safe and attractive deck railing.
How do I maintain my deck railing post-installation?
Maintenance varies based on the material of your deck railing. Wooden railings require regular sealing or staining to protect against moisture and UV damage. Composite railings necessitate occasional cleaning with soapy water to maintain their appearance. Metal railings might need periodic painting or rust protection, depending on the metal used. Glass railings should be cleaned with glass cleaner to retain clarity. Regular inspections for loose screws or structural damage are also crucial, allowing for prompt repairs if needed.
How long does it typically take to complete a deck railing installation?
The time it takes to complete a deck railing installation can vary greatly depending on the size of the deck, the complexity of the design, and your level of experience. For a relatively straightforward installation on a moderately sized deck, it might take a skilled DIYer or professional a day or two. More complex designs or larger decks can extend this timeline to several days. Planning, obtaining necessary permits, and weather conditions can also affect the overall timeline of your project.
What are some design ideas for deck railing to enhance aesthetics?
Deck railing design can significantly impact your deck's overall look. Consider mixing materials, such as wood posts with metal balusters, to create visual interest. Adding decorative post caps or lighting can enhance the appearance and functionality of your railings. Incorporating glass panels instead of traditional balusters can provide a contemporary feel and minimize obstruction of any scenic views. For a personalized touch, consider incorporating unique patterns or decorative inserts within the railing system. Match the railing design to the style of your home and landscape for a harmonious look.
Are there environmentally friendly options for deck railing installation?
Choosing environmentally friendly materials for deck railing installation can contribute to sustainability. Look for materials like sustainably harvested wood or composite materials made from recycled plastics and wood fibers. Aluminum is another eco-friendly choice due to its recyclability and durability. Additionally, consider using low-VOC finishes and sealants to reduce harmful emissions. Opting for long-lasting materials and designs can decrease the need for frequent replacements, further reducing environmental impact.
Cost Breakdown
Typical Price Ranges
The cost of deck railing installation can vary widely, primarily influenced by the materials you choose. Generally, you can expect to pay anywhere from $500 to $3,000 for a typical project. Here's a closer look:
- Wood Railings: These are often the least expensive, ranging from $20 to $50 per linear foot. For a standard 30-foot deck, that translates to $600-$1,500.
- Composite Railings: These provide a middle-ground option at $30 to $60 per linear foot, costing $900-$1,800 for the same 30-foot measurement.
- Metal Railings: Aluminum or steel railings can cost between $50 and $100 per linear foot. You're looking at $1,500-$3,000 for a 30-foot deck.
- Glass Railings: For a modern, high-end look, glass railings will set you back $100 to $150 per linear foot, totaling $3,000-$4,500 for 30 feet.
Factors That Affect Cost
Several factors can impact your deck railing installation cost:
- Material Choice: As mentioned, the material is the biggest cost driver. Each material comes with its own set of price points, durability, and maintenance requirements.
- Labor Costs: Labor can constitute a large portion of your budget, especially if you're hiring professionals. Rates vary by location but usually are around $50 to $100 per hour.
- Design Complexity: Intricate designs or custom patterns usually increase labor time and thus cost.
- Geographic Location: Your geographic area affects material availability and labor rates. Urban areas tend to have higher costs compared to rural settings.
Cost Comparison (Budget vs Premium Options)
When comparing budget and premium options:
- Budget Options: Opt for wood or basic composite railings if you wish to keep costs down. They are often easier to install and offer a traditional look.
- Premium Options: If you're chasing luxury, metal and glass offer a sleek, durable finish. However, they come with a heftier price tag and may require specialized installation skills.
Hidden Costs to Consider
Aside from the main expenses, there are several hidden costs to watch out for:
- Permits and Inspections: Depending on your location, you might need to factor in fees for permits and mandatory inspections, which can range from $100 to $300.
- Maintenance Costs: Wood railings require sealing and staining, while metal may need rust protection. Evaluate these recurring costs in your budget.
- Disposal Fees: If you're replacing old railings, there's often a cost associated with disposal, ranging from $50 to $150.
Ways to Save Money
Looking to keep costs in check? Here are some savvy ways to save on deck railing installation:
- DIY Installation: If you're handy, consider doing the installation yourself. This could save you hundreds on labor costs.
- Bulk Purchase Discounts: Buying materials in bulk can sometimes net you a discount, so consider purchasing all your materials at once.
- Material Substitution: Explore substituting high-cost materials with budget-friendly alternatives that mimic the desired appearance.
- Shop Around: Get quotes from multiple contractors and see if they'll match the lowest offer, which can lead to significant savings.
- Off-Season Discounts: Plan your project during the off-season. With less demand, you may find better rates from contractors.
Final Thoughts
Deck railing installation is an important aspect of creating a safe and inviting outdoor space. We've highlighted that proper planning, material selection, and adherence to local building codes can make all the difference in ensuring your deck is not only beautiful but also secure for friends and family to enjoy.
If you’re considering a new deck railing or upgrading your existing one, we at GoodLife Home Renovations are here to help. Serving homeowners in Springfield, MO, we offer expert advice and quality workmanship to bring your vision to life. Reach out to us today to schedule a consultation or request a free estimate, and let’s make your outdoor area the perfect place for memories to be made.


